
Before we start you will need:
- A baby bottle
- A pair of scratch mitts
- 8 nappies (I use size 2 but you can use any size)
- 6 baby wash cloths
- Coloured ribbon
- Elastic bands
- 2 cotton buds
- Googly eyes
- Sticky tape
- Double sided tape

Got everything? Good lets go =)
1. Take your scratch mitts, put one inside the other and pull them over the lid of the bottle.

2. Take a nappy and roll it up starting from the bottom. Secure it with an elastic band.

3. Roll one wash cloth around it.

4. Repeat with another nappy. These are the lower wings.

5. Take a length of ribbon, tie it around one nappy and tie a knot.
6. Wrap the ends of the ribbon around each side of the bottle and secure with another knot.

7. Tie the ribbon around the other nappy and secure with a knot. Trim the ends of the ribbon.
Note: I haven't got a photo of the bottle with both of the lower wings attached because... erm it looked kind of rude lol! Maybe I'm just being immature but never mind =)
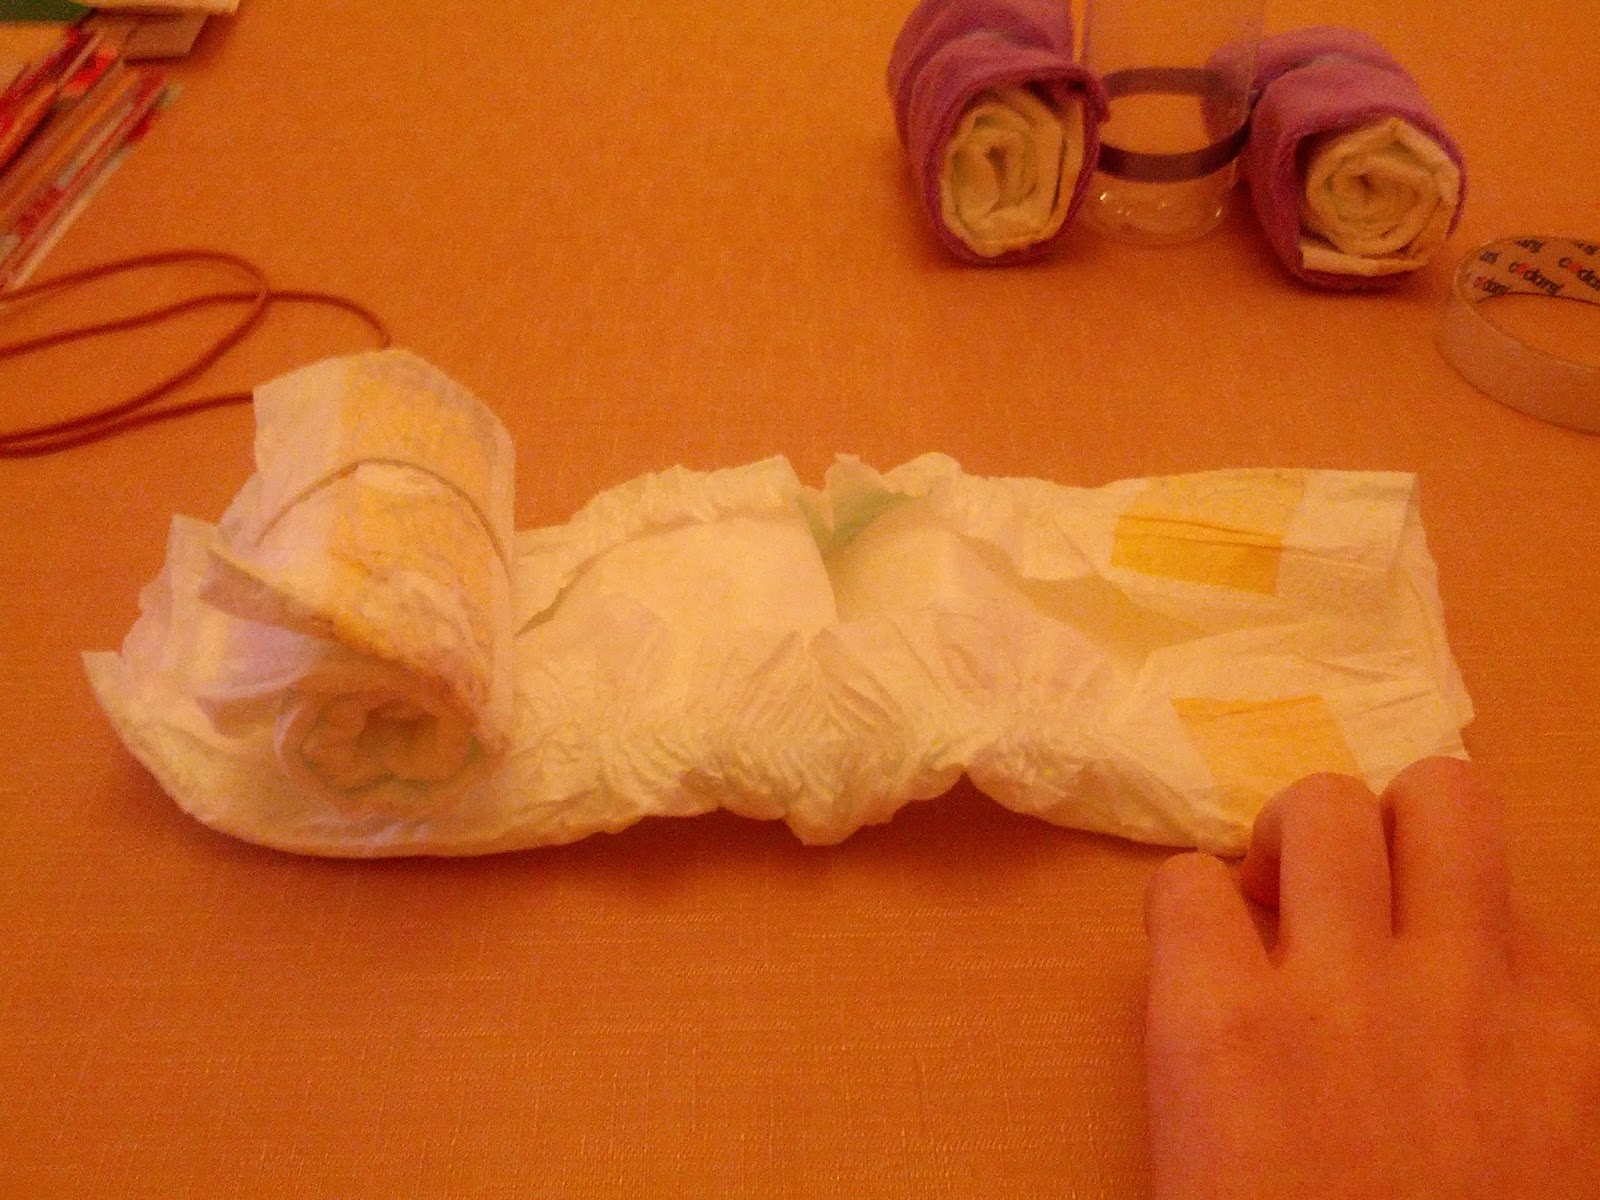
8. As before roll one nappy up. Then take another nappy and open it up. Roll up the first nappy inside the open one.

9. Open up another nappy and roll the first two nappies inside it. So you now have a roll of three nappies.

10. Take 2 wash cloths and cover your roll of nappies.
11. Repeat the last 3 steps so you have 2 upper wings.

12. As with the lower wings, take a length of ribbon, tie around one wing, then around the bottle and the second wing.
13. Tie the ribbon tightly and trim the ends.

14. Attach the googly eyes with low tack double sided tape (This doesn't damage the mitts, it simply peels off)
15. Attach the cotton buds to the back of the scratch mitt with low tack tape.

And thats it! If you make this, let me know how you get on and send me a pic! All I ask is that if you make one and post it to your Facebook page, Twitter, Blog etc please link back to this site. Thank you =)
Hayley x
Such a cute and fun tutorial! Your directions are easy to follow, and you have such way of communicating. Love!
ReplyDeleteThanks Rebeckah =) x
Delete